Setting up voice chat on FACEIT is one of the first things most players have to deal with – the interface is unfamiliar, settings are scattered across different sections, and communication is essential from your very first ranked game. FACEIT has had its own built-in voice system for a while now, which makes Discord optional rather than essential. This guide covers both scenarios: enabling voice chat in-match through a party, and separately – getting voice working in demos, since that runs entirely through console commands.
What Is FACEIT Voice and Why Does It Matter?
Enabling voice on FACEIT means using the built-in FACEIT Voice system, not CS2's standard voice chat. The difference matters: FACEIT Voice runs on its own infrastructure and is only available within a party – whether private or through Party Finder. This is a deliberate platform decision: voice is only open to players you've personally invited or connected with through Party Finder.
One important detail: voice data is not recorded or stored on FACEIT servers. The Minerva anti-toxicity system that operates in CS2 matches does not extend to FACEIT Voice for privacy reasons. The platform only establishes the connection between players – the voice stream itself is inaccessible to FACEIT.
FACEIT Voice offers three audio profiles, and each is a trade-off between quality and latency. To know which one to go with once you've got voice up and running, check the comparison below.
You can switch profiles in settings at any time – it's not a permanent choice. Most players start with Baseline or Performance. Clarity is best suited for streamers or anyone who prioritizes voice clarity over reaction speed.
How to Enable Voice Chat on FACEIT – Step by Step
The first thing to understand: you can't enable voice on FACEIT without a party – the button simply won't appear. This isn't a bug; FACEIT Voice is built around parties. Voice is only available to members of the same party, whether private or assembled through Party Finder.
If the party leader doesn't have access to FACEIT Voice, nobody in the group can use it – even members who do have access. The fix is to recreate the party and assign leadership to a player with the right permissions. After that, voice opens up for the whole group automatically.
Here's the exact sequence for the browser version. Most players start there, and it works fine – with one limitation we'll cover right after the list.
Log into your FACEIT account in a browser.
Click '+' in the lobby window or select 'View party' in the top navigation.
Invite your teammates to the party.
Click the 'Join voice' button in the party window.
On first launch – allow the browser access to your microphone and speakers.
After clicking 'Join voice', the connection is established automatically. If the browser didn't prompt for microphone permission, go into your browser settings and manually grant faceit.com access to your audio devices. The browser version has one limitation, but it's a significant one: hotkeys only work while the FACEIT tab is in focus. The moment you switch to CS2, PTT stops working. That's why FACEIT recommends the desktop client for anyone who takes in-game communication seriously.
The client is available at faceit.com/en/client. Once installed, you can access voice without ever leaving CS2: the ALT+X shortcut opens the overlay right on top of the game. On top of that, the client delivers better audio quality, lower latency, and built-in noise suppression compared to the browser.
How to Configure FACEIT Voice Chat for Your Playstyle
The default after enabling FACEIT voice is the Baseline profile with Push-to-Talk off. For most players, that means the mic picks up everything: background noise, mouse clicks, voices in the room. It's worth opening settings straight away – the gear icon at the top of the party window.
It doesn't take long to figure out. Push-to-Talk deserves special attention: most experienced players switch to it immediately to keep the channel clean during games.
Output device – select your headset or speakers.
Microphone – input device.
Volume levels – overall party volume.
Voice profile – Baseline, Clarity, or Performance.
Push-to-Talk – the toggle in the lower part of the voice menu.
Hotkeys – PTT, mic mute, mute the whole party.
PTT works globally in the client; in the browser, only when the tab is in focus. To manage a specific player, click their name in the party – a speaker icon for muting and a volume slider will appear. Skipping the volume setup means risking a missed callout at the worst possible moment.
How to Enable Voice in a FACEIT Demo – Console Commands
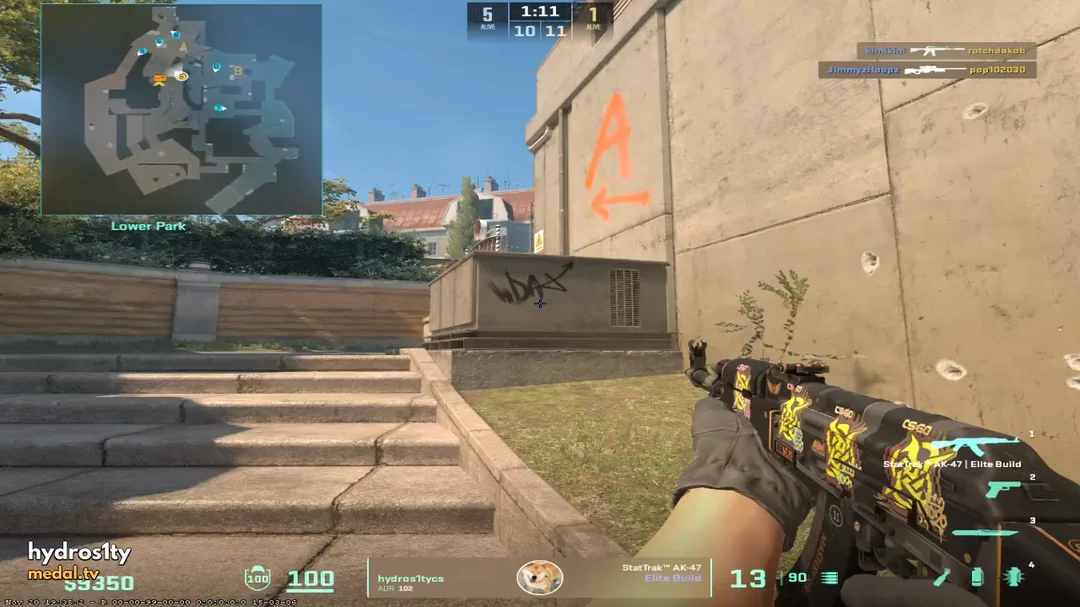
Demos are a completely different situation. You download a match recording, want to review rounds or catch a cheater – and all you get is silence instead of callouts. Voice is disabled in FACEIT demos by default: the GOTV format the platform uses for recording doesn't capture the voice stream automatically.
FACEIT Support has officially published the fix: three CS2 console commands that must be entered before launching the demo. If you enter them after the demo starts, you'll need to restart from scratch. No third-party tools needed – just the game's built-in commands.
CS2 console commands:
tv_listen_voice_indices -1 – enables voice for players in slots 0–31
tv_listen_voice_indices_h -1 – enables voice for slots 32–63
tv_relaytextchat 2 – enables text chat in the demo
The third command is for anyone who wants to see chat messages alongside voice – useful when gathering evidence for a report. All three have been confirmed by the official FACEIT Support Twitter account and work in the current version of CS2.
Before launching the demo, you need to set it up correctly. Files are downloaded from the 'Matches' section of your FACEIT profile and are kept for 30 days – after which they're deleted automatically. The downloaded .dem file needs to be placed in the \game\csgo folder inside your CS2 directory. If the filename starts with a number, rename it – otherwise the playdemo command may fail to find the file.
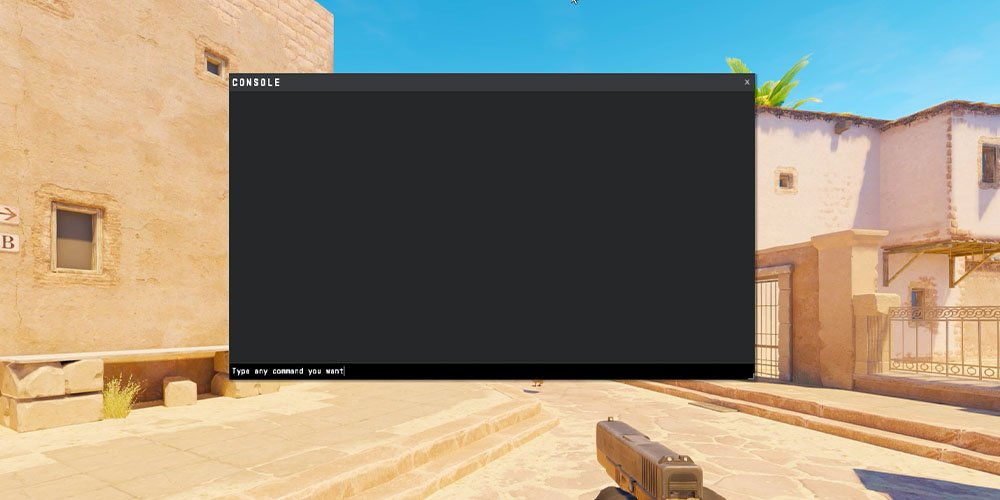
Open CS2 and enable the console (Settings → 'Game' section).
Enter all three commands into the console one by one.
Launch the demo: playdemo filename.dem.
To spectate a specific player: spec_player <slot number>.
That's all there is to getting voice working in a FACEIT demo – three lines in the console before you launch the file. The process is identical in CS2 – the commands work in the CS2 client. There's no other way to enable voice chat in a FACEIT demo: the platform doesn't provide any official workarounds, and this is the only method that works.
Why FACEIT Voice Isn't Working – Common Issues
After setting everything up, things can still go wrong: voice appears to be enabled but there's no audio, PTT isn't firing, or the demo is still silent. Most issues take a couple of minutes to fix – you just need to know what you're looking at. The most common ones are listed below.
The most common demo mistake is order of operations. Players launch the demo, remember they need to enable voice, enter the commands, and wait for something to happen. It doesn't work that way: voice in a FACEIT demo can only be enabled before the file loads – this is a CS2 engine limitation, not a FACEIT one. A restart takes about thirty seconds, but it's worth knowing upfront.
Voice Is Set Up – Time to Communicate
To get voice running in a match: create a party, add your teammates, and click 'Join voice'. The client is the better option: ALT+X opens the overlay right inside CS2, PTT works globally, and noise suppression is built in. Three console commands before launching a demo handle voice in recordings without any third-party tools – everything you need is already built into the platform.