With every round in Counter-Strike 2, the appetite for bold individuality keeps growing — which is why the question of how to create custom skins in CS2 is so in demand. Everyone wants to stand out, show their style, and make a statement. Custom skins are user-made textures and models for weapons and gear that differ from the official skins available via the Steam Market or in-game cases. They can be one of a kind, let you flex your creativity, and even become part of a personal brand — especially relevant in the era of esports and streaming, where visuals matter as much as gameplay.
The term “custom skins in CS2” has become popular among players and modders alike. These aren’t just alternate finishes: they’re crafted by hand, often with external editors and tools, and can carry any artistic intent — from minimalist graphic motifs to complex visual effects. In a time when streamers and pros strive to stand out, custom skins set a mood, amplify emotional impact, and help you feel part of something bigger — whether that’s a personal style, a team identity, or a visual “signature” for your audience.
What Are Custom Skins in CS2
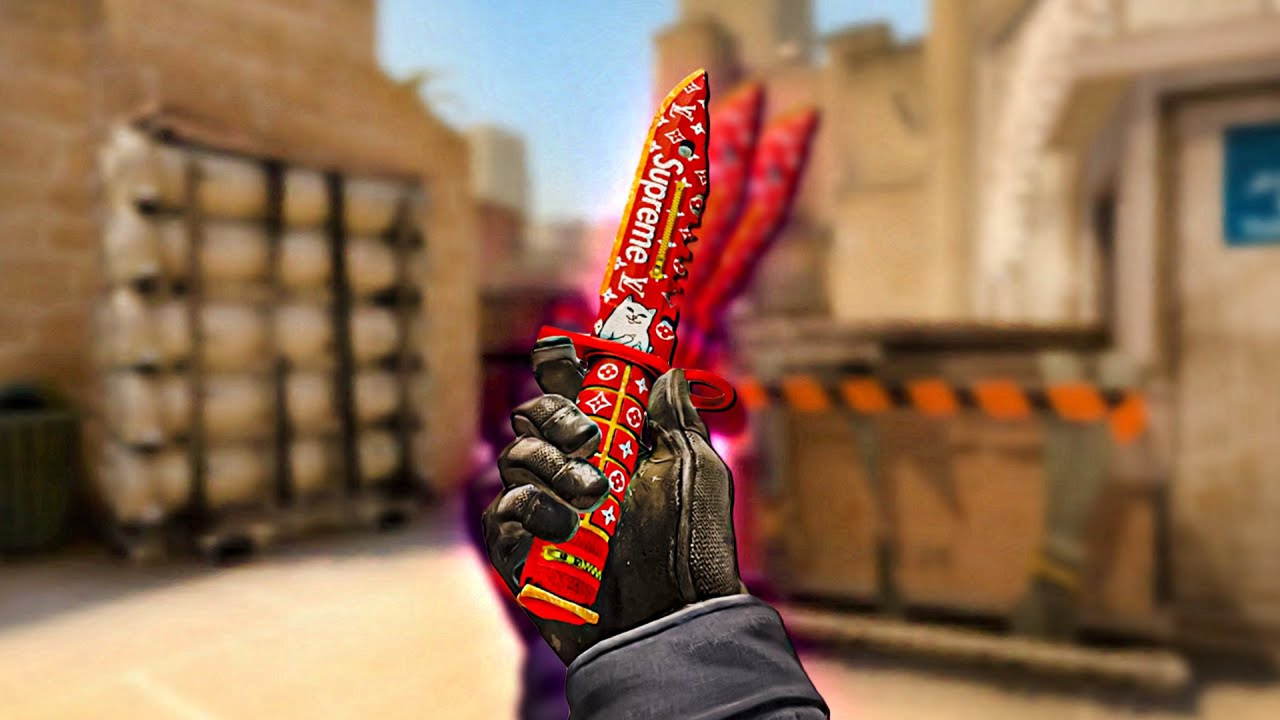
Custom skins in CS2 are user-created weapon finishes that players design and import themselves. Unlike official skins sold on the Steam Market or released in Valve’s collections, custom skins give you full control over the design — from the color palette to applied patterns and logos.
Official skins are typically constrained by standard textures, material types, and collection frameworks, whereas custom skins can become a player’s or brand’s visual signature. That’s especially valuable in esports and for content creators: unique weapon designs grab viewers’ attention and build identity. That feeling that your style isn’t just a face but a visual presence — one that sets the atmosphere and heightens the emotion of every spray and every round — is what makes custom skins in CS2 so popular.
Legal and Technical Considerations
Using custom skins in CS2 raises a fair question: is it allowed by Valve? Officially, the game doesn’t ban users for locally downloaded and applied skins, especially when they’re used in unofficial or single-player contexts. However, using modified files on official servers can lead to warnings or trigger anti-cheat suspicion, even though Valve doesn’t lay out explicit prohibitions.
There are also compatibility risks with patches and updates: nonstandard textures can break after an update, require manual reinstall, or render incorrectly. To minimize these risks, players are advised to use custom skins only on local or private servers and to choose tools recognized as safe by the community and Valve (for example, Workshop integration). This reduces the chance of penalties and helps keep things stable even after updates.
Tools and Software for Creating Custom Skins
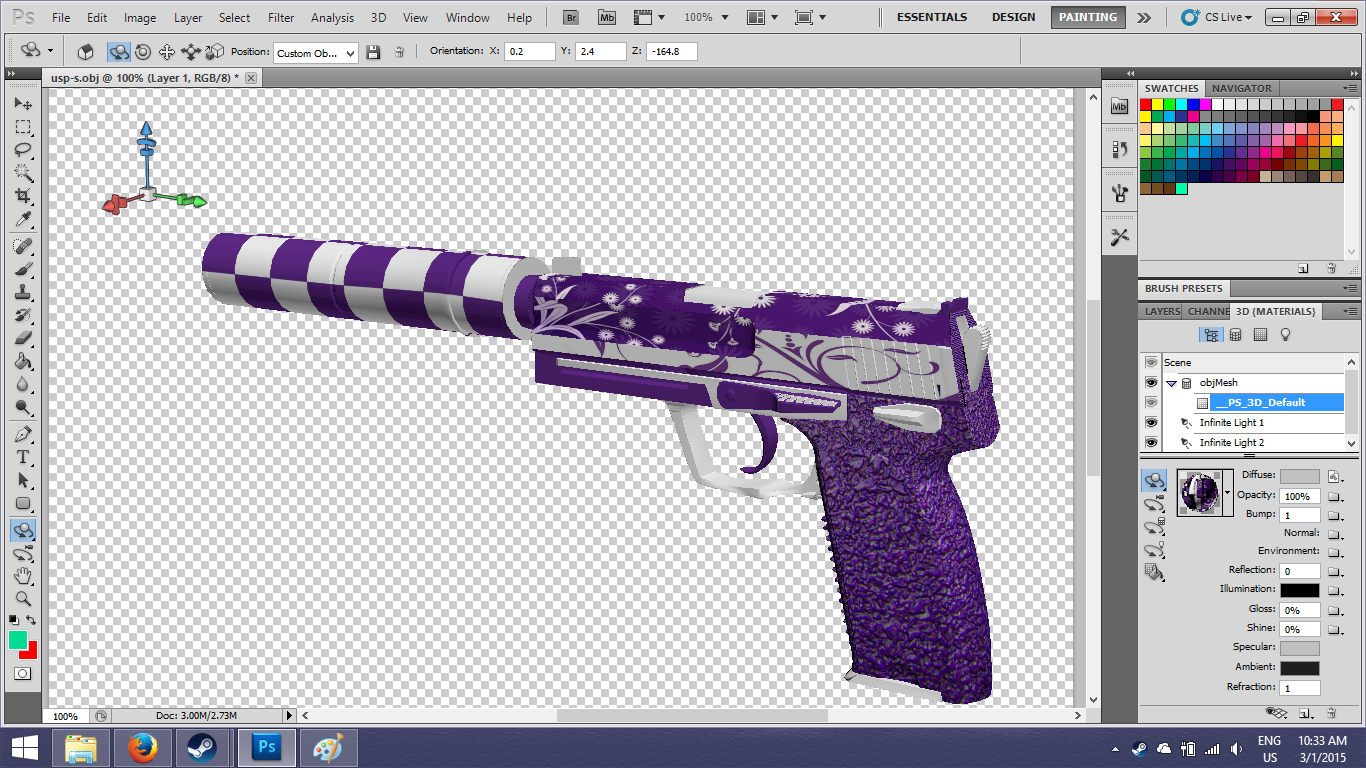
If you want to try making custom skins in CS2, there’s a full toolkit available. Most workflows start in a 3D editor like Blender — a free, powerful modeling app that lets you fine-tune weapon geometry and textures. For painting and image editing, Adobe Photoshop and GIMP are common choices: the former offers maximum features but requires a subscription (from $20.99/month), while the latter is completely free and handles texture work well.
CS2 itself includes built-in Workshop Tools and an SDK that let you test skins in-game without ban risk. Through them, you can upload models to the Steam Workshop and check how they render across maps and lighting conditions. The Steam Workshop is a key part of the ecosystem: designers publish their work there, and the community votes on favorites. That’s how some skins ultimately make it into official collections and start selling for real money.
Step-by-Step Guide to Creating Custom Skins
For many players, building custom skins in CS2 becomes a hobby in its own right — as engaging as the gameplay itself. For experienced modders it’s a way to express themselves; for newcomers it’s a chance to explore CS2’s creative side. The process can be broken down into several key stages, each of which rewards care and attention.
Before you dive in, remember: making a skin isn’t just “slapping an image on a gun.” It’s a balance between artistic vision and technical correctness — the skin needs to look good up close and at range, in bright light and in the shadows of a map.
Creation stages:
Choose the weapon to customize. The modder first decides which item to rework. Popular picks include AK-47, AWP, and M4A4 — they’re frequently on screen for viewers and esports broadcasts, which means higher demand. The choice isn’t random: you should like the weapon yourself, because you’ll be working with it for hours.
Export the model to a workable format. After choosing the weapon, export its model from the game files into a format suitable for editing (e.g., OBJ or FBX). Preserving correct UV layouts is critical so textures map properly to the model.
Develop textures and the design. This is where creativity kicks in. Set the color palette, paint patterns, logos, and gradients. Real-world objects, graffiti, or a player’s/team’s branding often provide inspiration. Experienced designers pre-test how colors read under different lighting — bright midday on Mirage versus the gloom of Nuke.
Import into CS2 and test. Load the finished textures back into the game via Workshop Tools. Check for alignment issues, stretching, or lines that “swim” when the weapon is in motion. It’s best to test on multiple maps with varying lighting and environments.
Publish on the Steam Workshop. The final step is uploading your work to the Steam Workshop. There it can gain traction, with likes and comments from players. Sometimes Valve selects Workshop creations for official collections, opening the door to sales and revenue.
After publishing, keep an eye on feedback and don’t be afraid to iterate. Even small tweaks can make your work more desirable. As you consistently release new custom skins in CS2, you’ll develop a personal style and name recognition within the community.
Design Tips for Custom Skins
Even the brightest custom skins in CS2 can fall flat if they’re too “noisy.” Balance is everything. High-contrast color schemes work well for weapons that need to stand out in the chaos of a match. Realistic shades and materials suit those who want their weapons to feel “authentic” and grounded in the game’s atmosphere.
A strong approach is minimalism: one or two striking elements, a clean background, and crisp lines. That makes a skin recognizable at a glance. If you add logos or team marks, integrate them into the composition rather than just slapping them on top. Patterns and gradients help set the mood: from aggressive (sharp lines, dark contrasts) to airy and futuristic (smooth transitions, cool hues).
Optimization and Testing
A skin that looks stunning in a render or screenshot can disappoint in a live match if it hasn’t been battle-tested. Experienced creators of custom skins in CS2 know testing isn’t a formality — it’s the step that determines whether your work will actually be used. Consider everything from performance to how the skin reads in the chaos of a firefight.
Optimization and testing steps:
Check across maps and lighting. The same skin can look perfect on Mirage in daylight and vanish into the shadows on Nuke or Inferno. Test under different conditions: the bright sun of Dust 2, the soft evening glow of Overpass, and the artificial light of Office. This reveals whether key details get lost and colors stay readable.
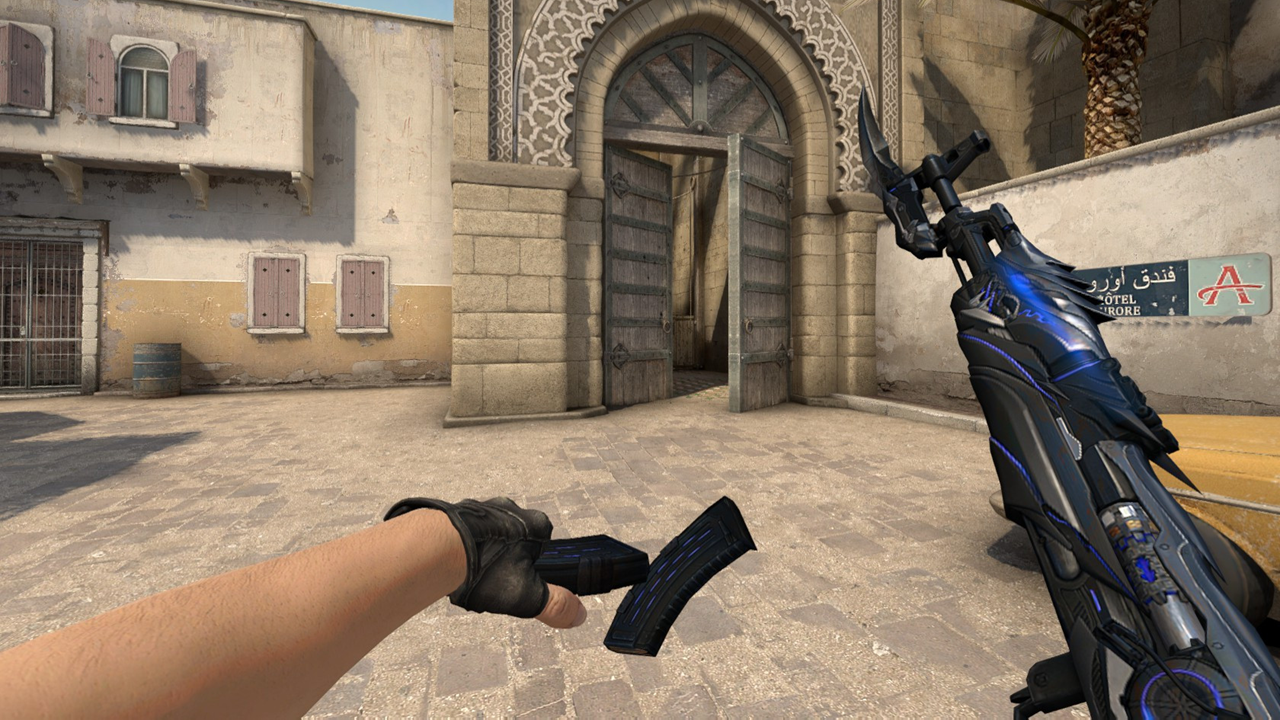
Evaluate in combat motion. Screenshots don’t show how a skin feels while shooting, reloading, or swapping weapons. Make sure textures don’t smear in motion and that the core design stays visible despite recoil and animations.
Performance testing. Overly “heavy” textures or excessive polygon counts can drag down FPS, especially on lower-end PCs. Optimization is critical: many designers ship multiple texture variants — a max-quality version for high-end rigs and a lighter one for stable performance on medium and low settings.
Gather feedback. After internal checks, show the skin to friends, teammates, or post a preview in modding communities. Fresh eyes catch what authors miss — a stray detail, an odd color accent, or a small mapping error.
Final tweaks and re-tests. Incorporate feedback and iterate. Sometimes a tiny change — slightly darkening a background or adjusting pattern scale — makes the skin more legible and impactful. A final pass on the same maps and conditions ensures it’s publish-ready.
Thorough optimization boosts the chances your skin will see use beyond local tests and into real matches. Players value not only originality but comfort: a skin should be easy on the eyes, not distract from aiming, and not “lag” even on older hardware. That blend of beauty and stability is what separates successful custom skins in CS2 from forgettable ones.
Custom Skins in Esports and Streaming
For streamers and pros, custom skins in CS2 are a way to reinforce their brand. Unique weapon looks make broadcasts memorable, and viewers often ask where to get the same skin. Some teams commission bespoke designs for tournaments, which creates extra buzz among fans.
On the esports stage, customization helps distinguish players visually and underscores individuality. Audiences remember these looks faster — which directly impacts a player’s and team’s popularity.
Earning Potential with Custom Skins
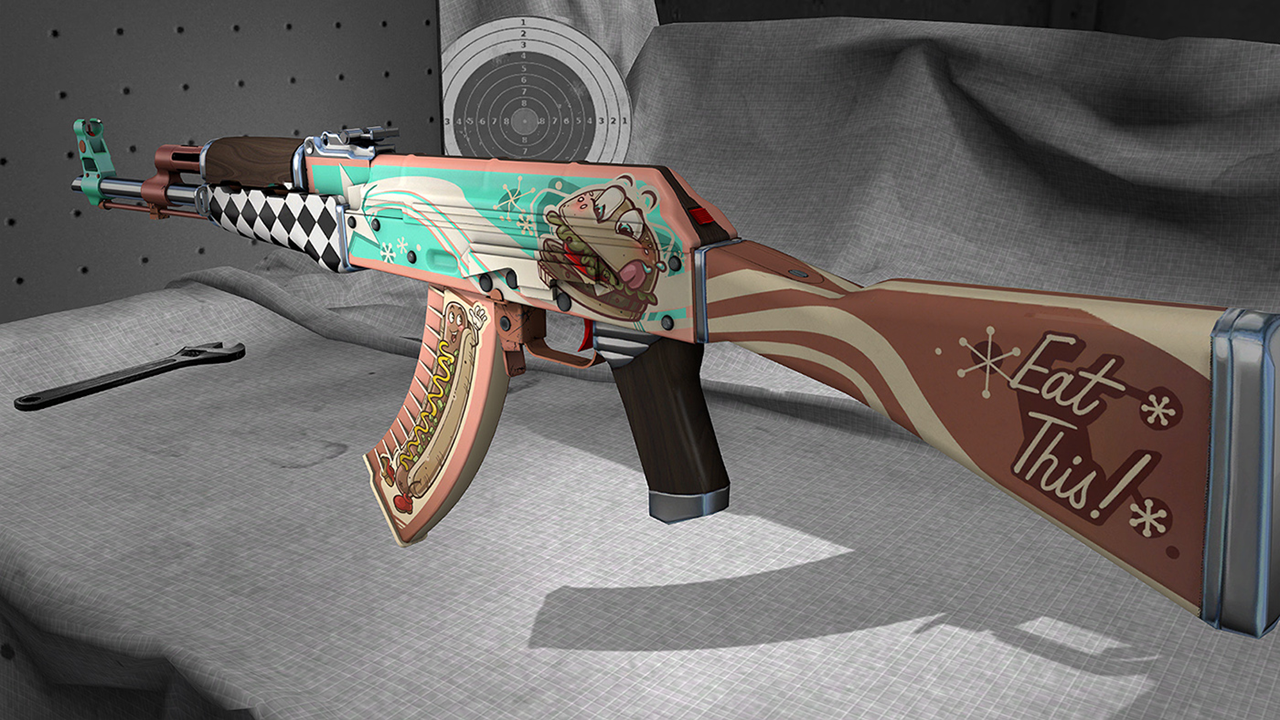
The Steam Workshop lets creators not only share their custom skins in CS2, but also earn from them. If a piece makes it into an official collection, it goes on sale and the author receives a cut of the proceeds. There are cases where designers have earned thousands of dollars a month from their skins.
For example, one popular creator whose work was included in the Operation Riptide collection said their monthly income exceeded $10,000. The mechanism is straightforward: Valve shares revenue with the author, and the skin becomes available to millions of players.
The Future of Custom Skins in CS2
The outlook for custom skins in CS2 is promising. Valve could add support for HDR textures, dynamic effects, and expand modder tools. The community is growing, and more artists are trying their hand at weapon design.
There’s also a possibility of integrating new technologies like NFTs to anchor authorship to digital items and sell them on external platforms. While this is still speculative, the custom-skin market is clearly moving toward deeper integration with the economies of games and esports.
From First Idea to Community Recognition
Custom skins in CS2 aren’t just visual decoration. They become part of the experience — a means of self-expression and even a source of income. For newcomers, the best advice is to start simple: learn the tools, try building test designs, and don’t hesitate to share them with the community.
With each new project your skills will grow — and with them, the chances that one day your work will be among those that inspire others and brighten the game for millions of players.